AgGrid Table Guide
This is a basic introduction on how to use AgGrid Table together with Windmill. It assumes little to no knowledge about AgGrid.
What is AgGrid Table
The AgGrid Table component (called AgGrid from here) is a small wrapper around a fantastic library called AgGrid. It provides you with a lot of advanced features. It comes in a free and a Enterprise (paid) version. All features below are part of the free version of AgGrid.
If you need the enterprise version of AgGrid, please contact us.
AgGrid vs Table component vs Database Studio
In Windmill there are 3 table components: one simply called Table, AgGrid and Database Studio.
The Table component is for most usecases. It takes an array of objects as d input, and uses the key of the object as the header of the table. It also provides you with one or more action buttons to trigger an action for the row or create a dropdown button based on the row data.
Database Studio is a web-based database management tool. It allows you to display and edit the content of a database.
If you want to do basic sorting, or edit the column header name from the script you can also use a Transformer script. See the documentation for more information.
Column Definition
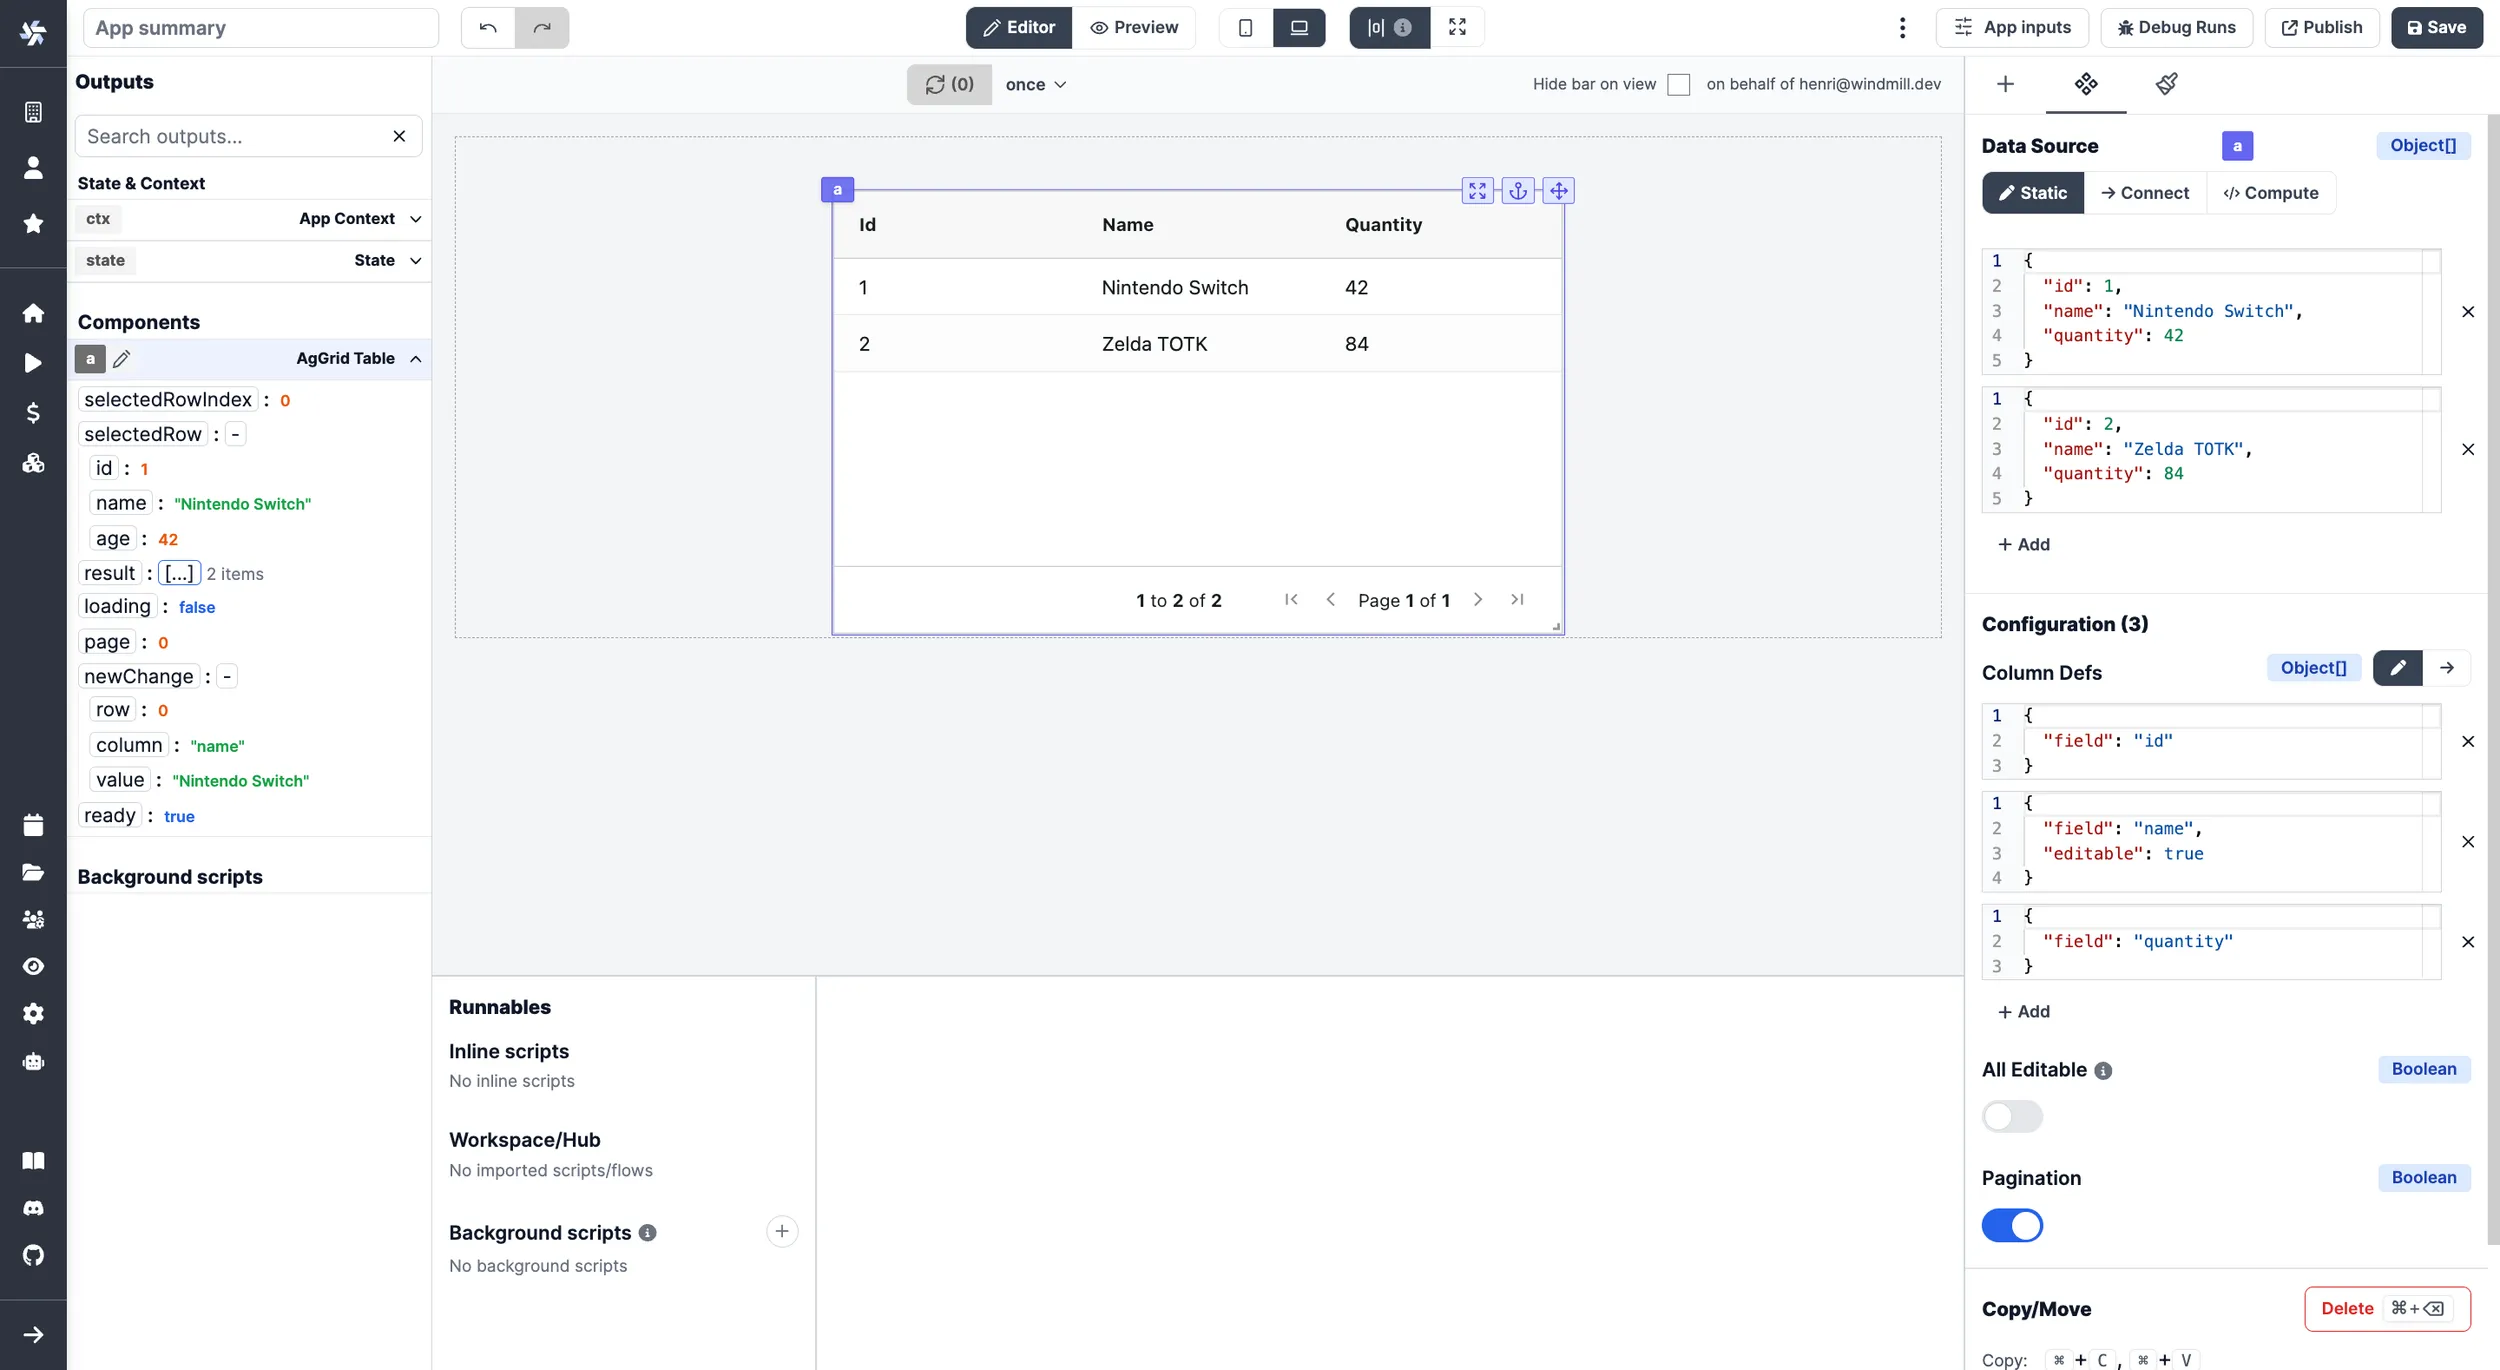
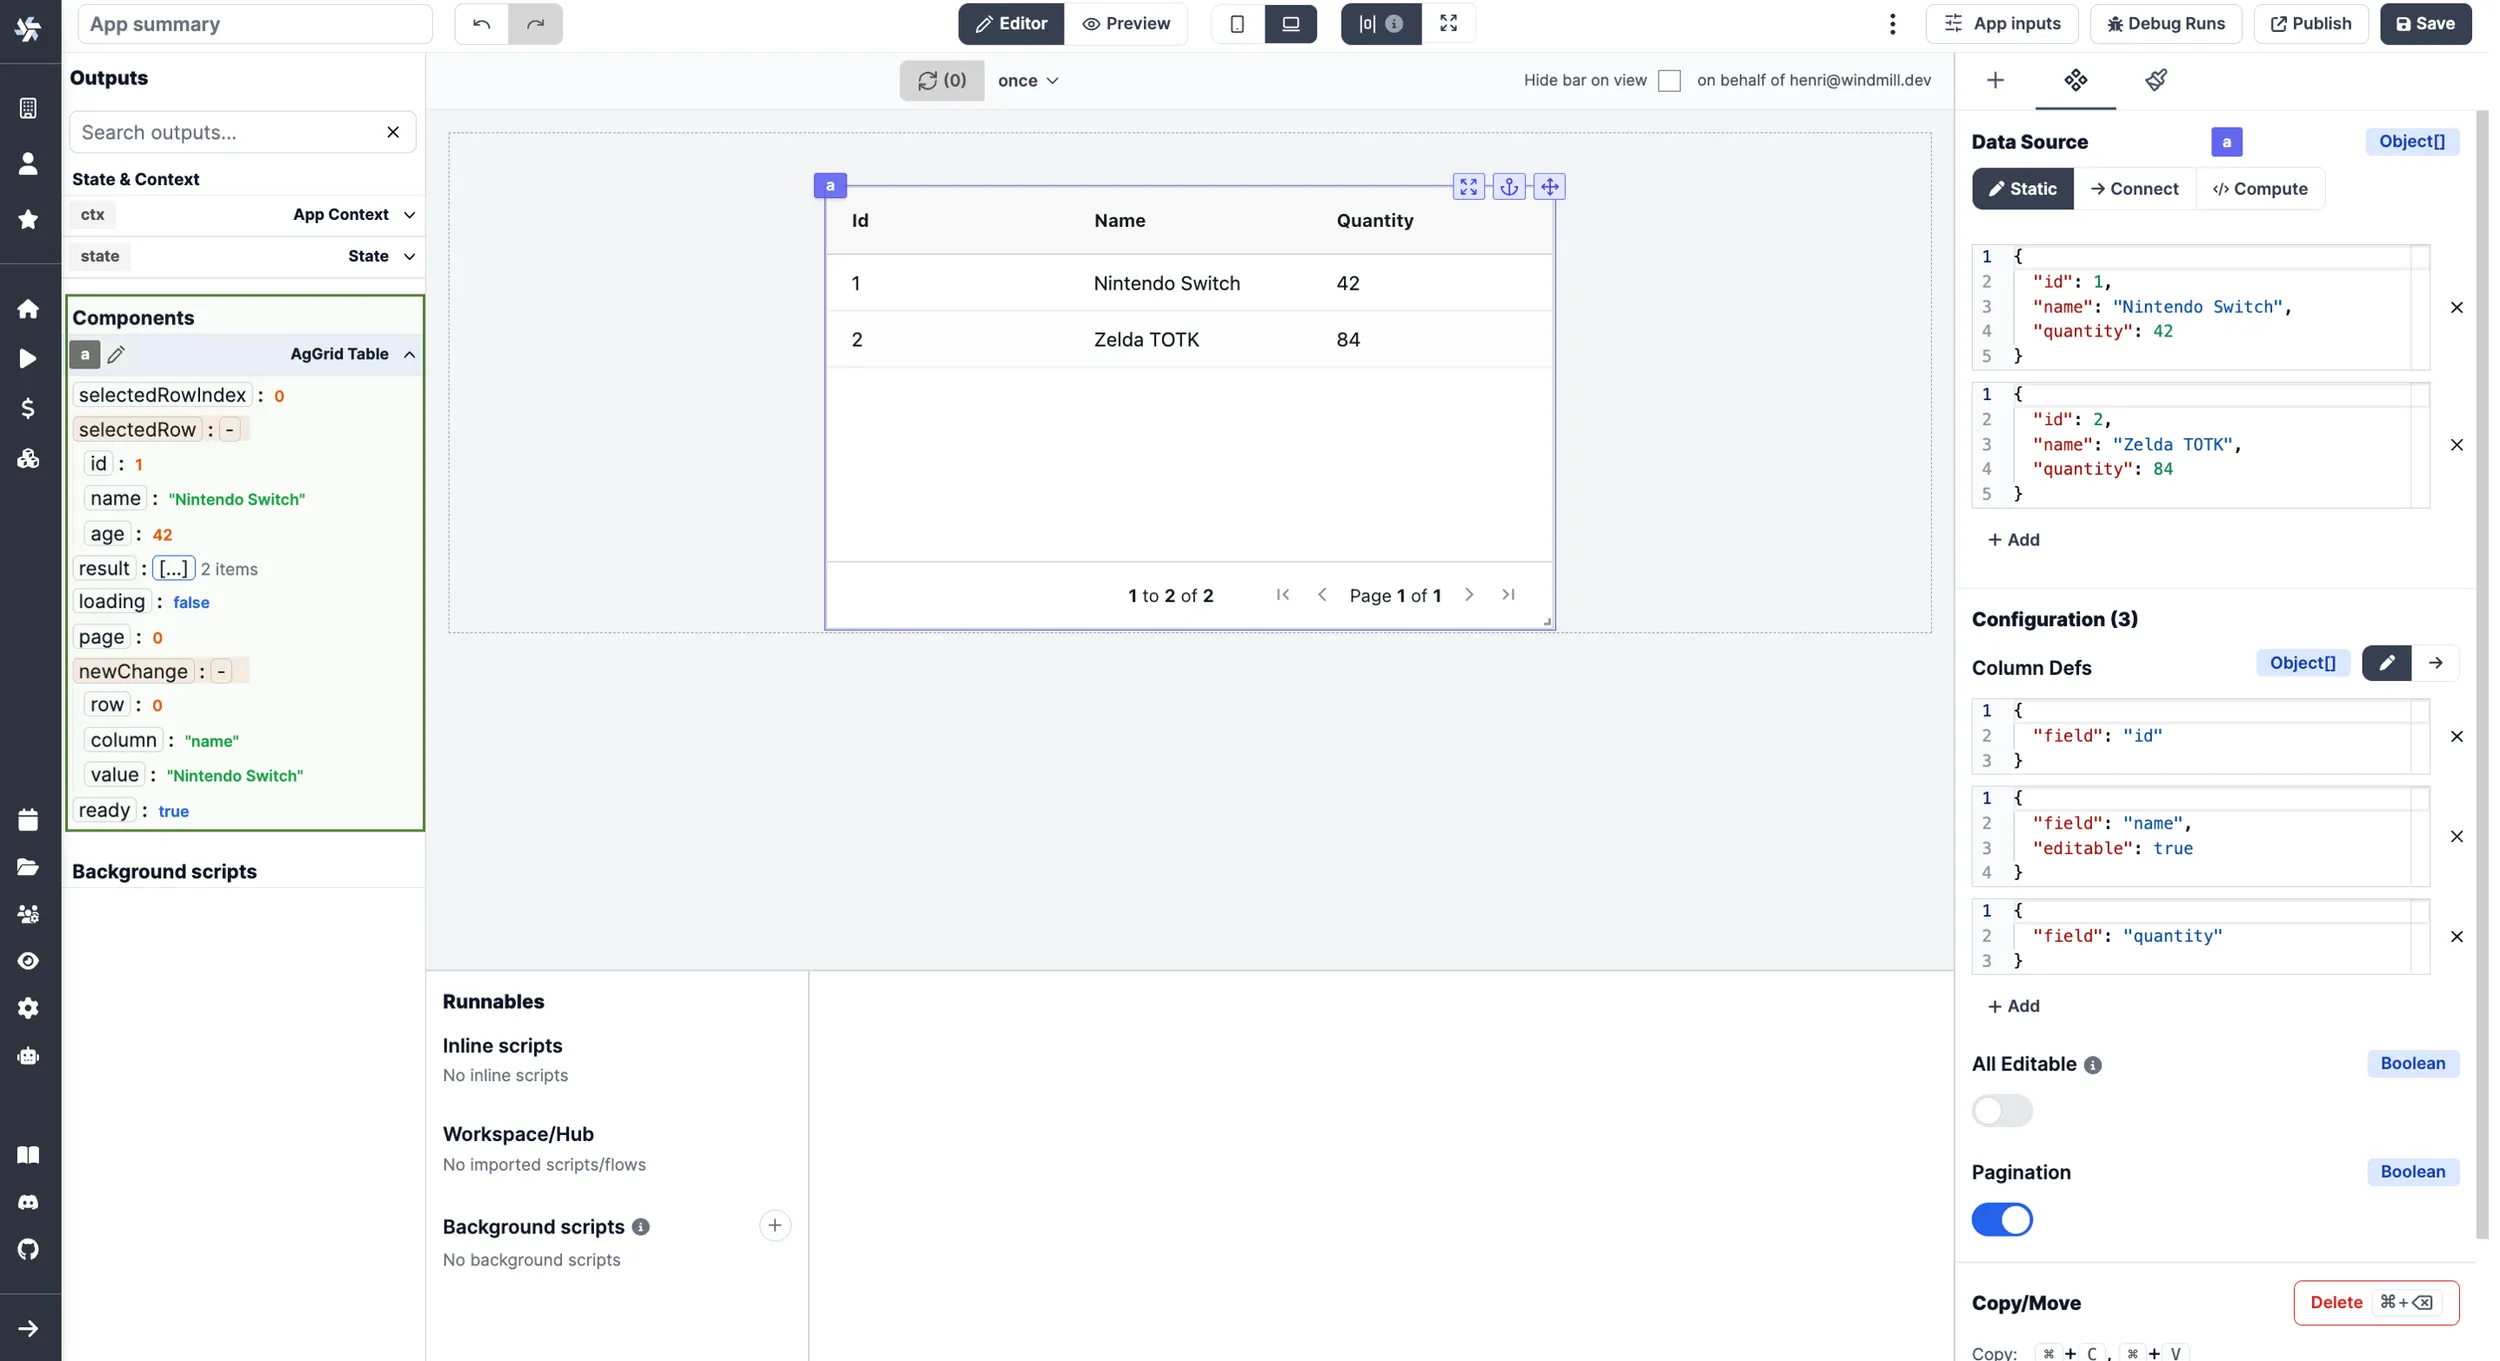
AgGrid needs two inputs, rowdata and column definitions. By default AgGrid does not show the rowdata. You need to specify the properties of each column. This is done in the Configuration on the right side.
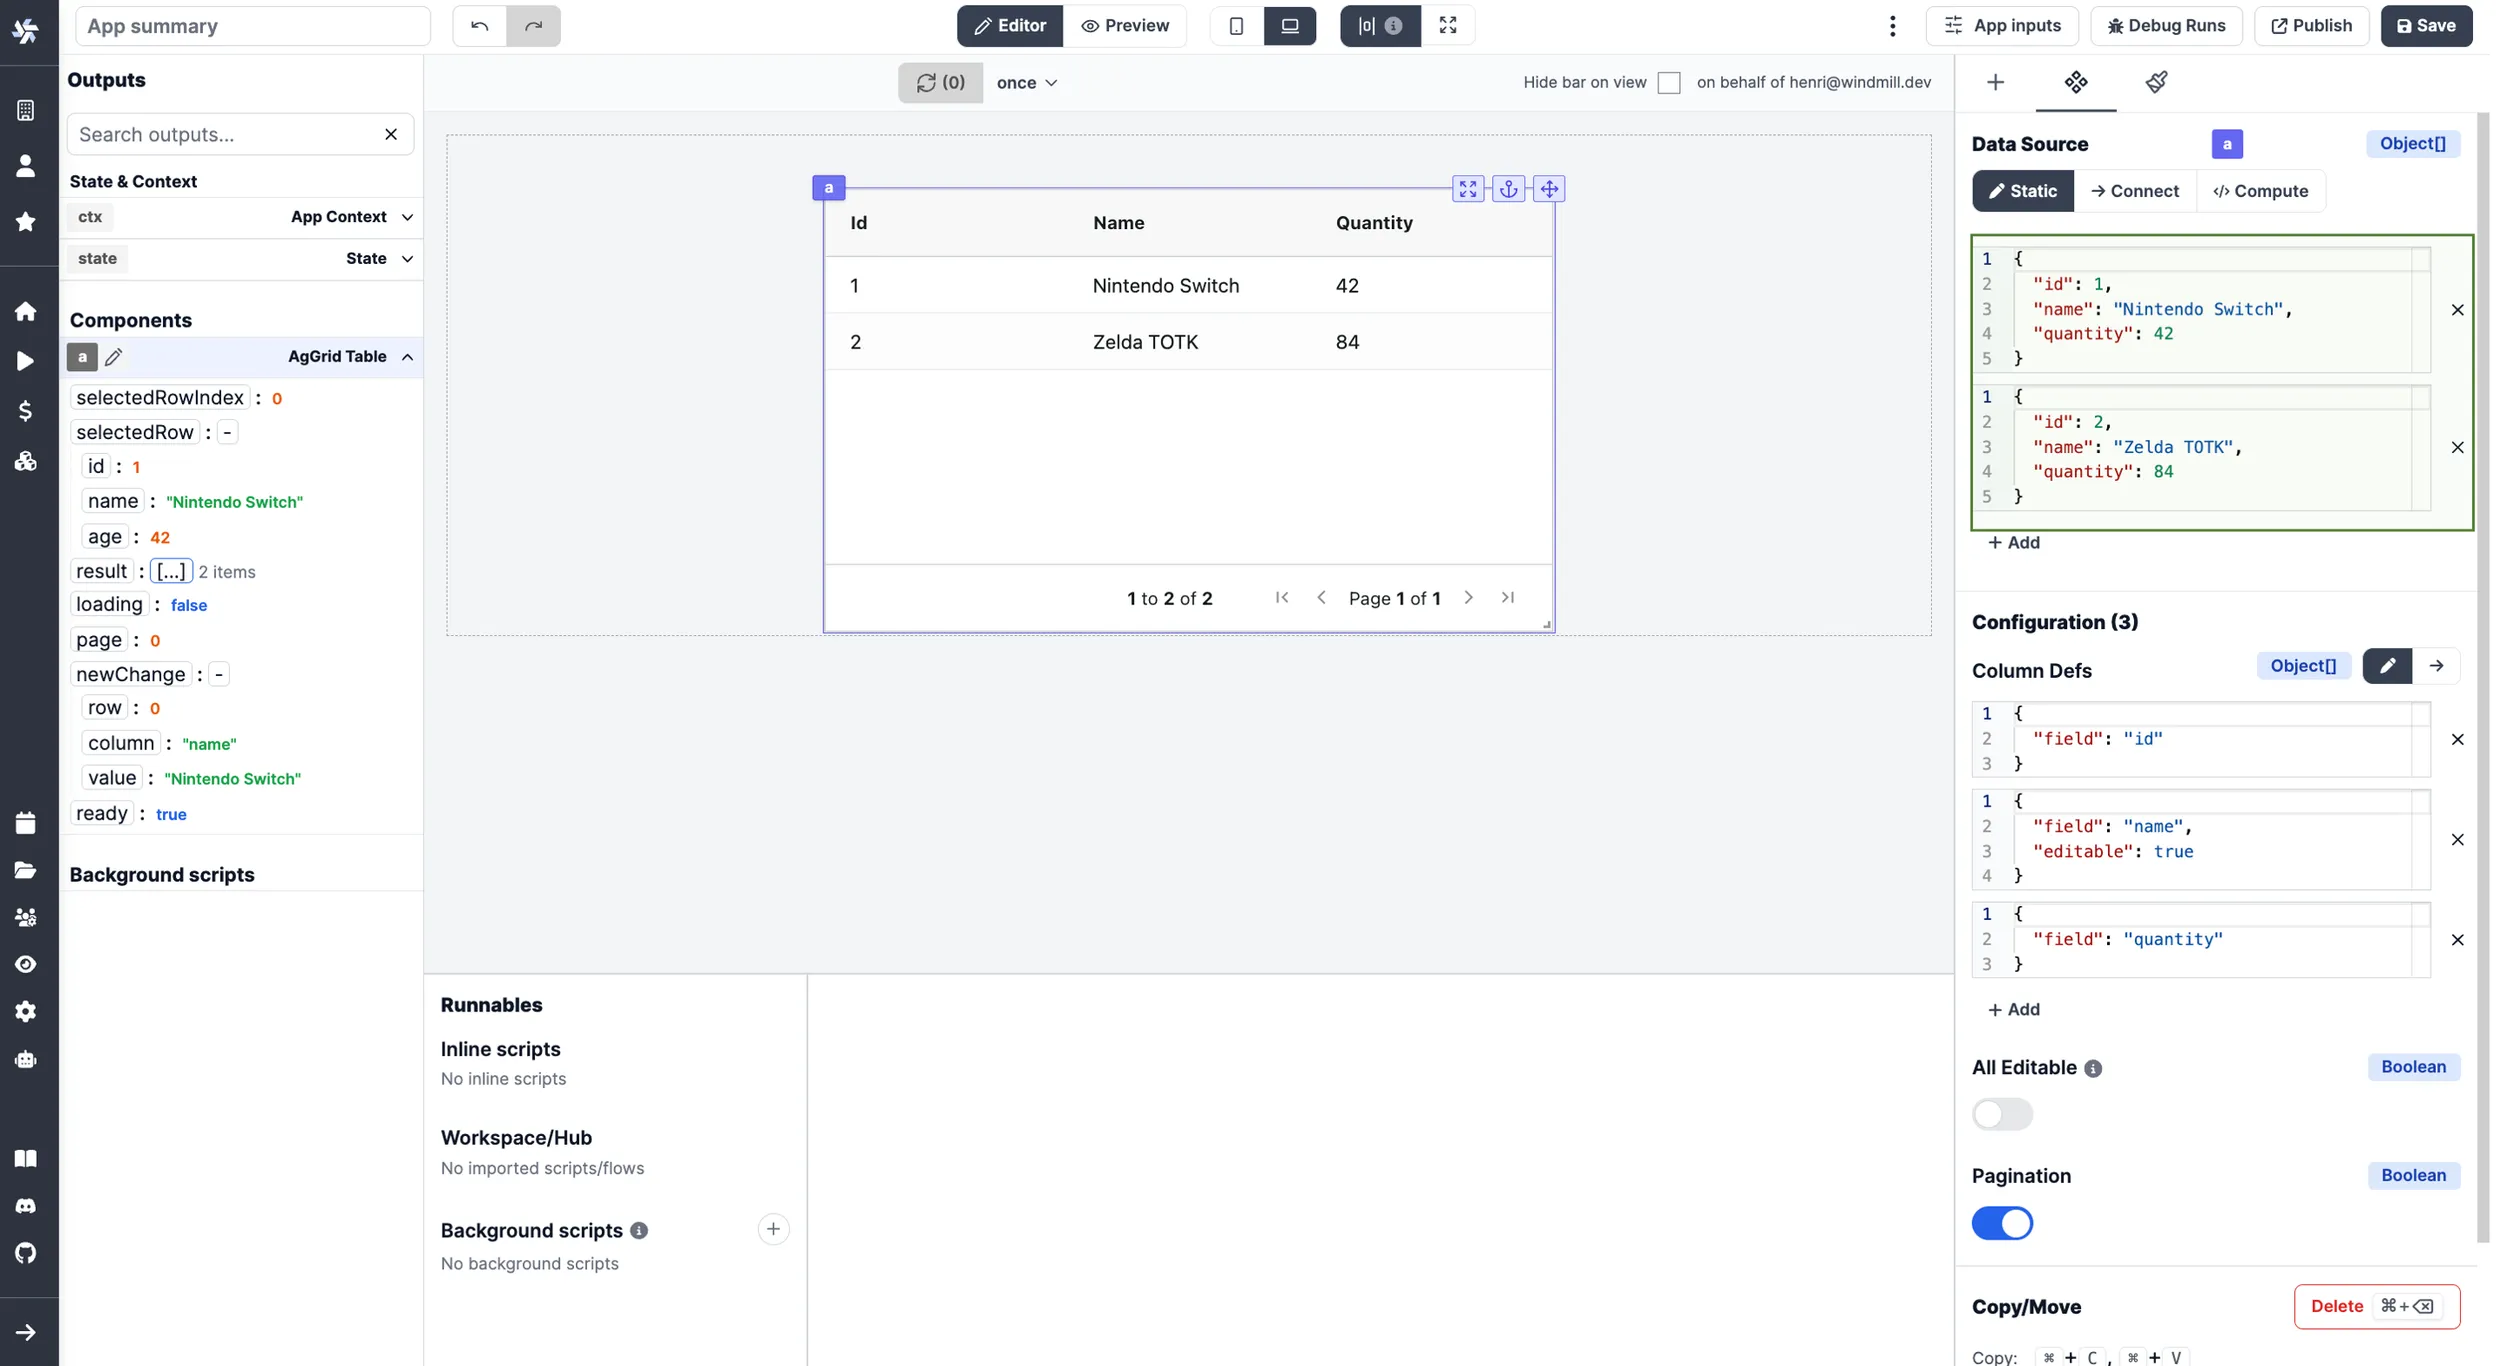
You can statically set the properties of each column and many properties are available. Let's walk trough the one you may be most likely to use:
- field (string) - which field to use from the rowdata | documentation
- headerName (string) - rename the column header to something other than the field name | documentation
- sortable (boolean)- should the column be sortable by the user | documentation
- sort (asc|desc) - which order to sort the column | documentation
- resizable (boolean) - should the column be resizable | documentation
- rowDrag (boolean) - should the user be able to drag the column | documentation
There is a lot more properties, this is just the first few. See Column Properties for the complete list of properties.
Dynamically configure the column definition
As with most things, Windmill lets you dropdown to code when you want to do more advanced stuff, where the gui is more in the way then helping.
The Windmill way will be to first create a background runnable and then connecting it with the col def.

Here you can provide your own column definition that is more then a JSON but also includes classes and functions.
Below is a series of snippets that will help you get started.
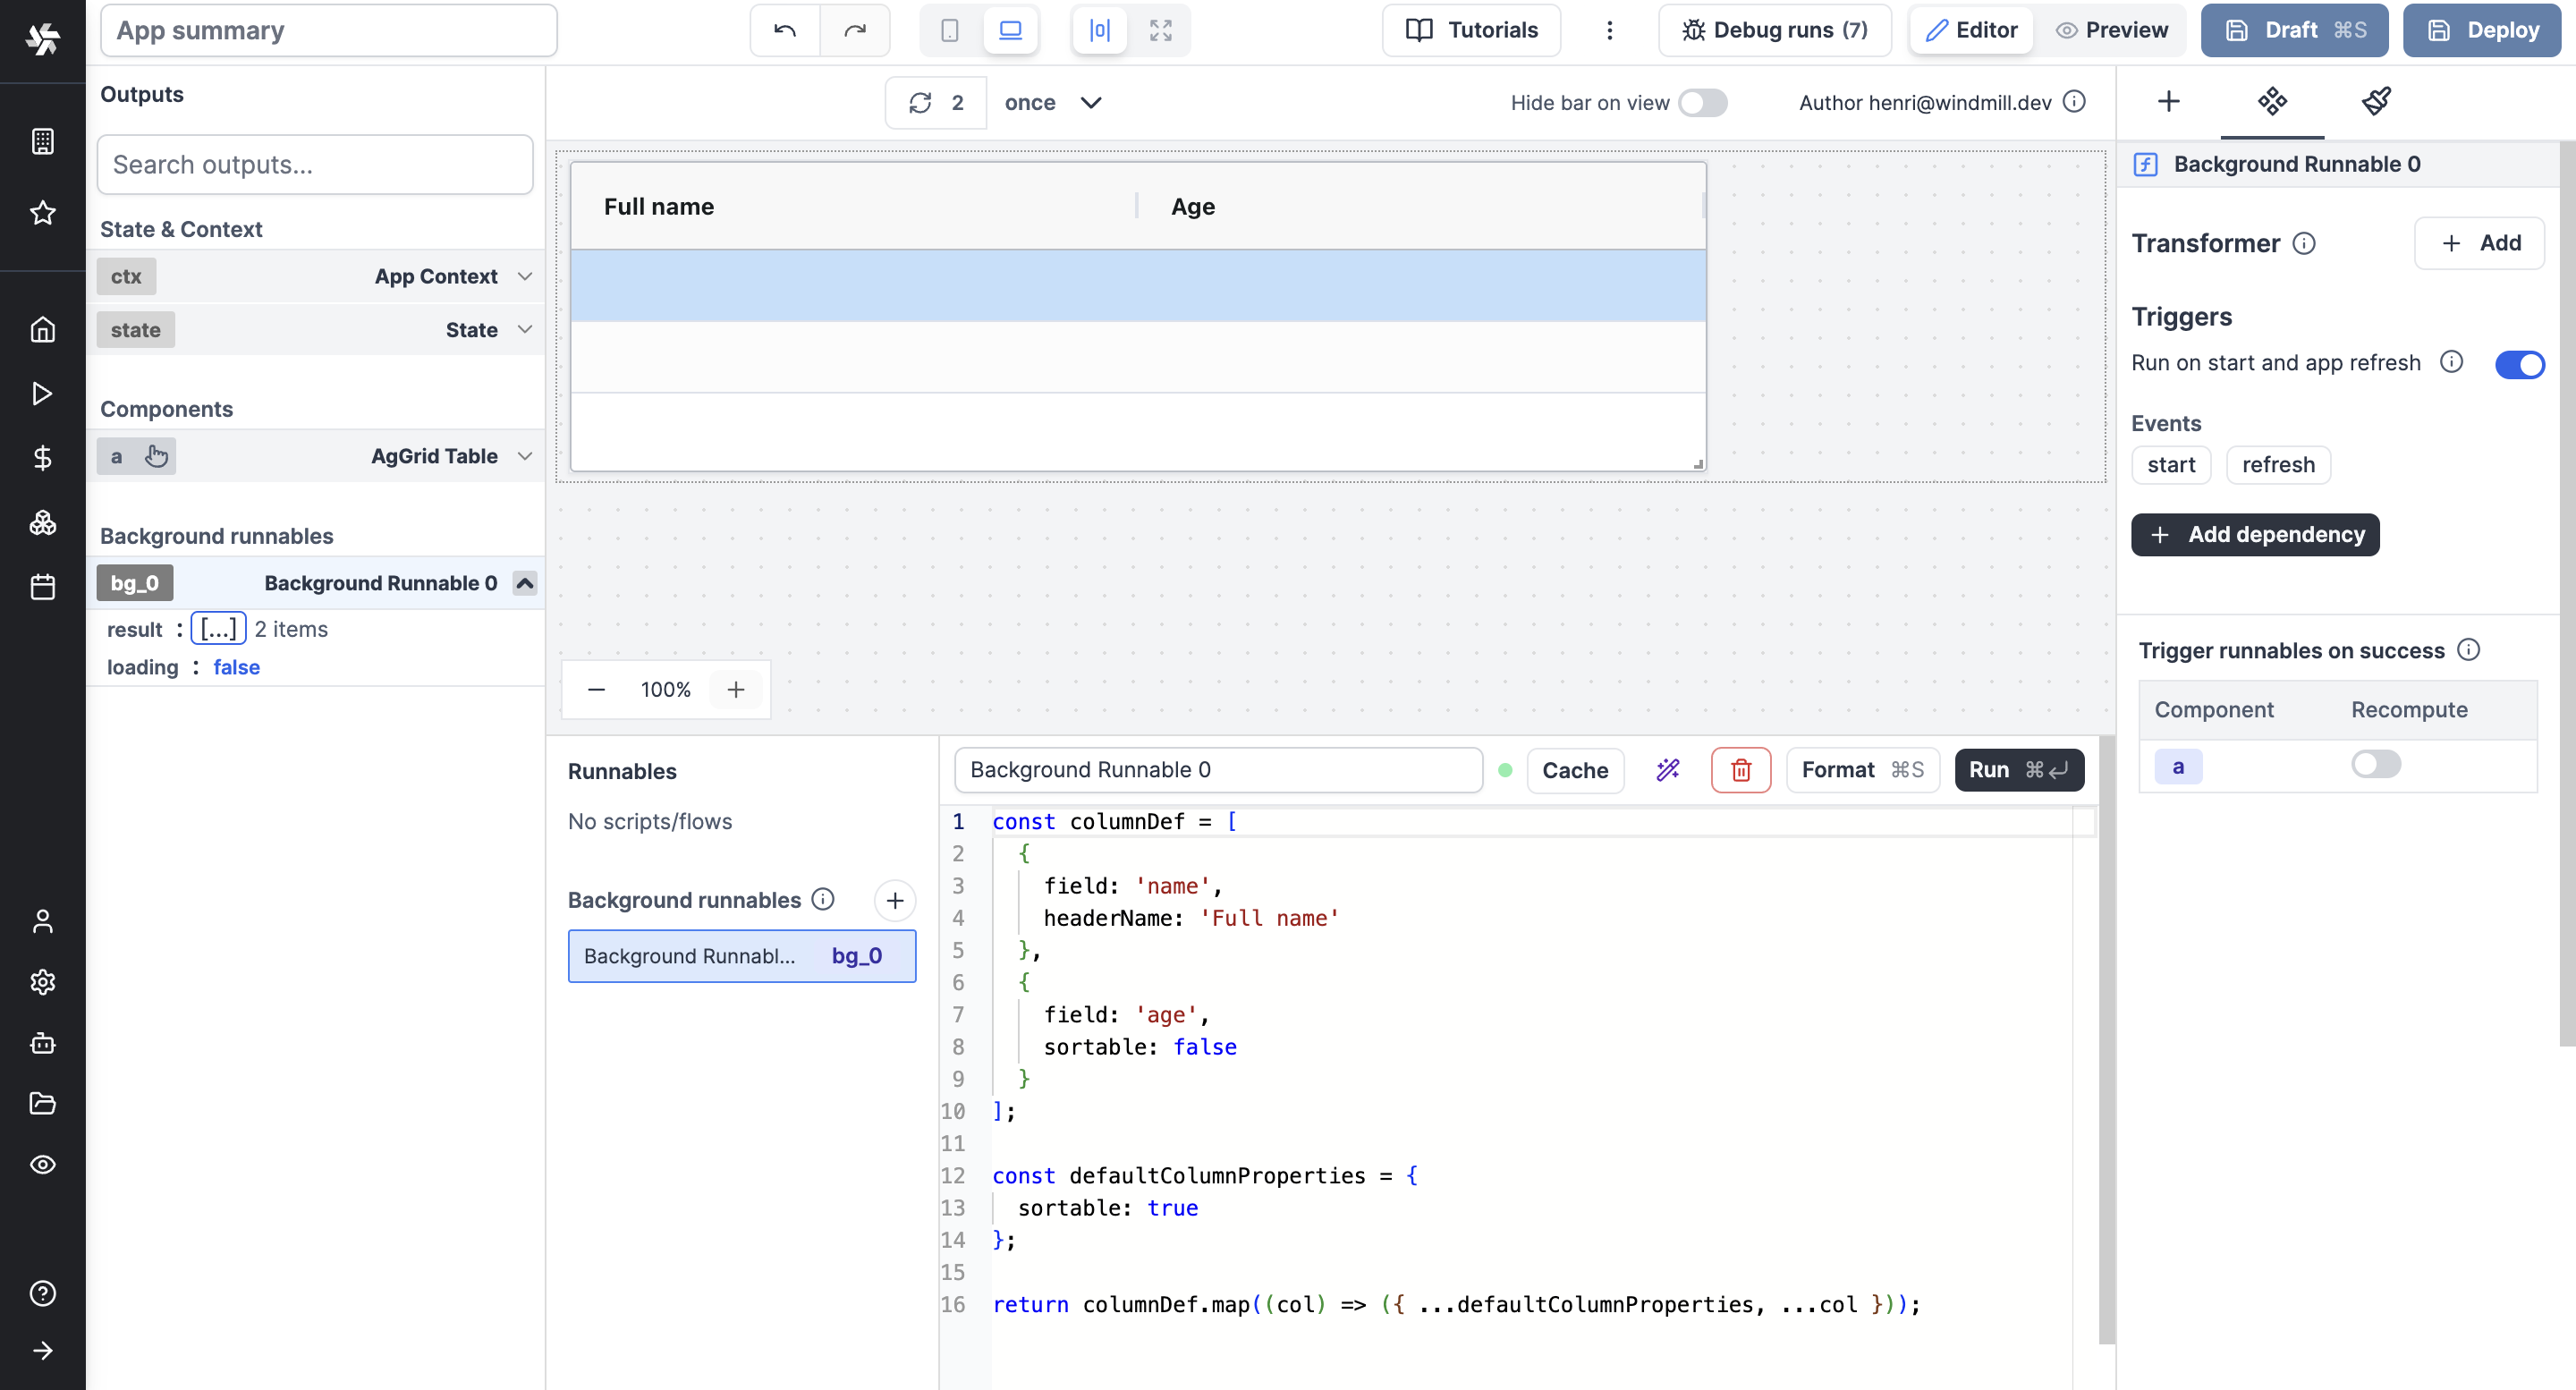
Provide default values for all columns
Create a background runnable that is a Frontend JavaScript with the following content:
const columnDef = [
  {
    field: 'name',
    headerName: 'Full name'
  },
  {
    field: 'age',
    sortable: false
  }
];

const defaultColumnProperties = {
  sortable: true
};

return columnDef.map((col) => ({ ...defaultColumnProperties, ...col }));
Create a select button
Here we are using a AgGrid Component called agSelectCellEditor. There
exist more predefined cell components
like this.
Create a Frontend JavaScript with the following content:
return [
	{
		field: 'name',
		headerName: 'Full name'
	},
	{
		field: 'age',
		cellEditorParams: function (params) {
			return { values: [1, params.data.age, 100] };
		},
		cellEditor: 'agSelectCellEditor',
		editable: true,
		useFormatter: true
	}
];
and connect it to the column definition.
If you want to act on changes in the select dropdown, you may use the components
states newChanges, or selectedRow.
Create a button (custom component)
Create a Frontend JavaScript with the following content:
class BtnCellRenderer {
	constructor() {}
	init(params) {
		this.params = params;
		this.eGui = document.createElement('button');
		this.eGui.innerHTML = 'Push me!';
		this.btnClickedHandler = this.btnClickedHandler.bind(this);
		this.eGui.addEventListener('click', this.btnClickedHandler);
	}
	getGui() {
		return this.eGui;
	}
	destroy() {
		this.eGui.removeEventListener('click', this.btnClickedHandler);
	}
}
BtnCellRenderer.prototype.btnClickedHandler = function () {
	if (!state.logs) {
		state.logs = [];
	}
	state.logs.push({
		rowDataAfterChange: JSON.stringify(this.params.data)
	});
};

return [
	{ field: 'name' },
	{ field: 'age' },
	{
		headerName: 'Send row data to state',
		cellRenderer: BtnCellRenderer
	}
];
and connect it to the column definition.
This example demonstrates how to create a custom cell renderer component. Where we put the data from the row into our state. from here we can use other scripts to act on the row data as we like.
You can create a lot of components, not only for cell rendering, to understand how check out AgGrid's documentation for components.