Apps Quickstart
Welcome to the Apps Quickstart! This page will provide you with the necessary knowledge to build your first applications in a matter of minutes.

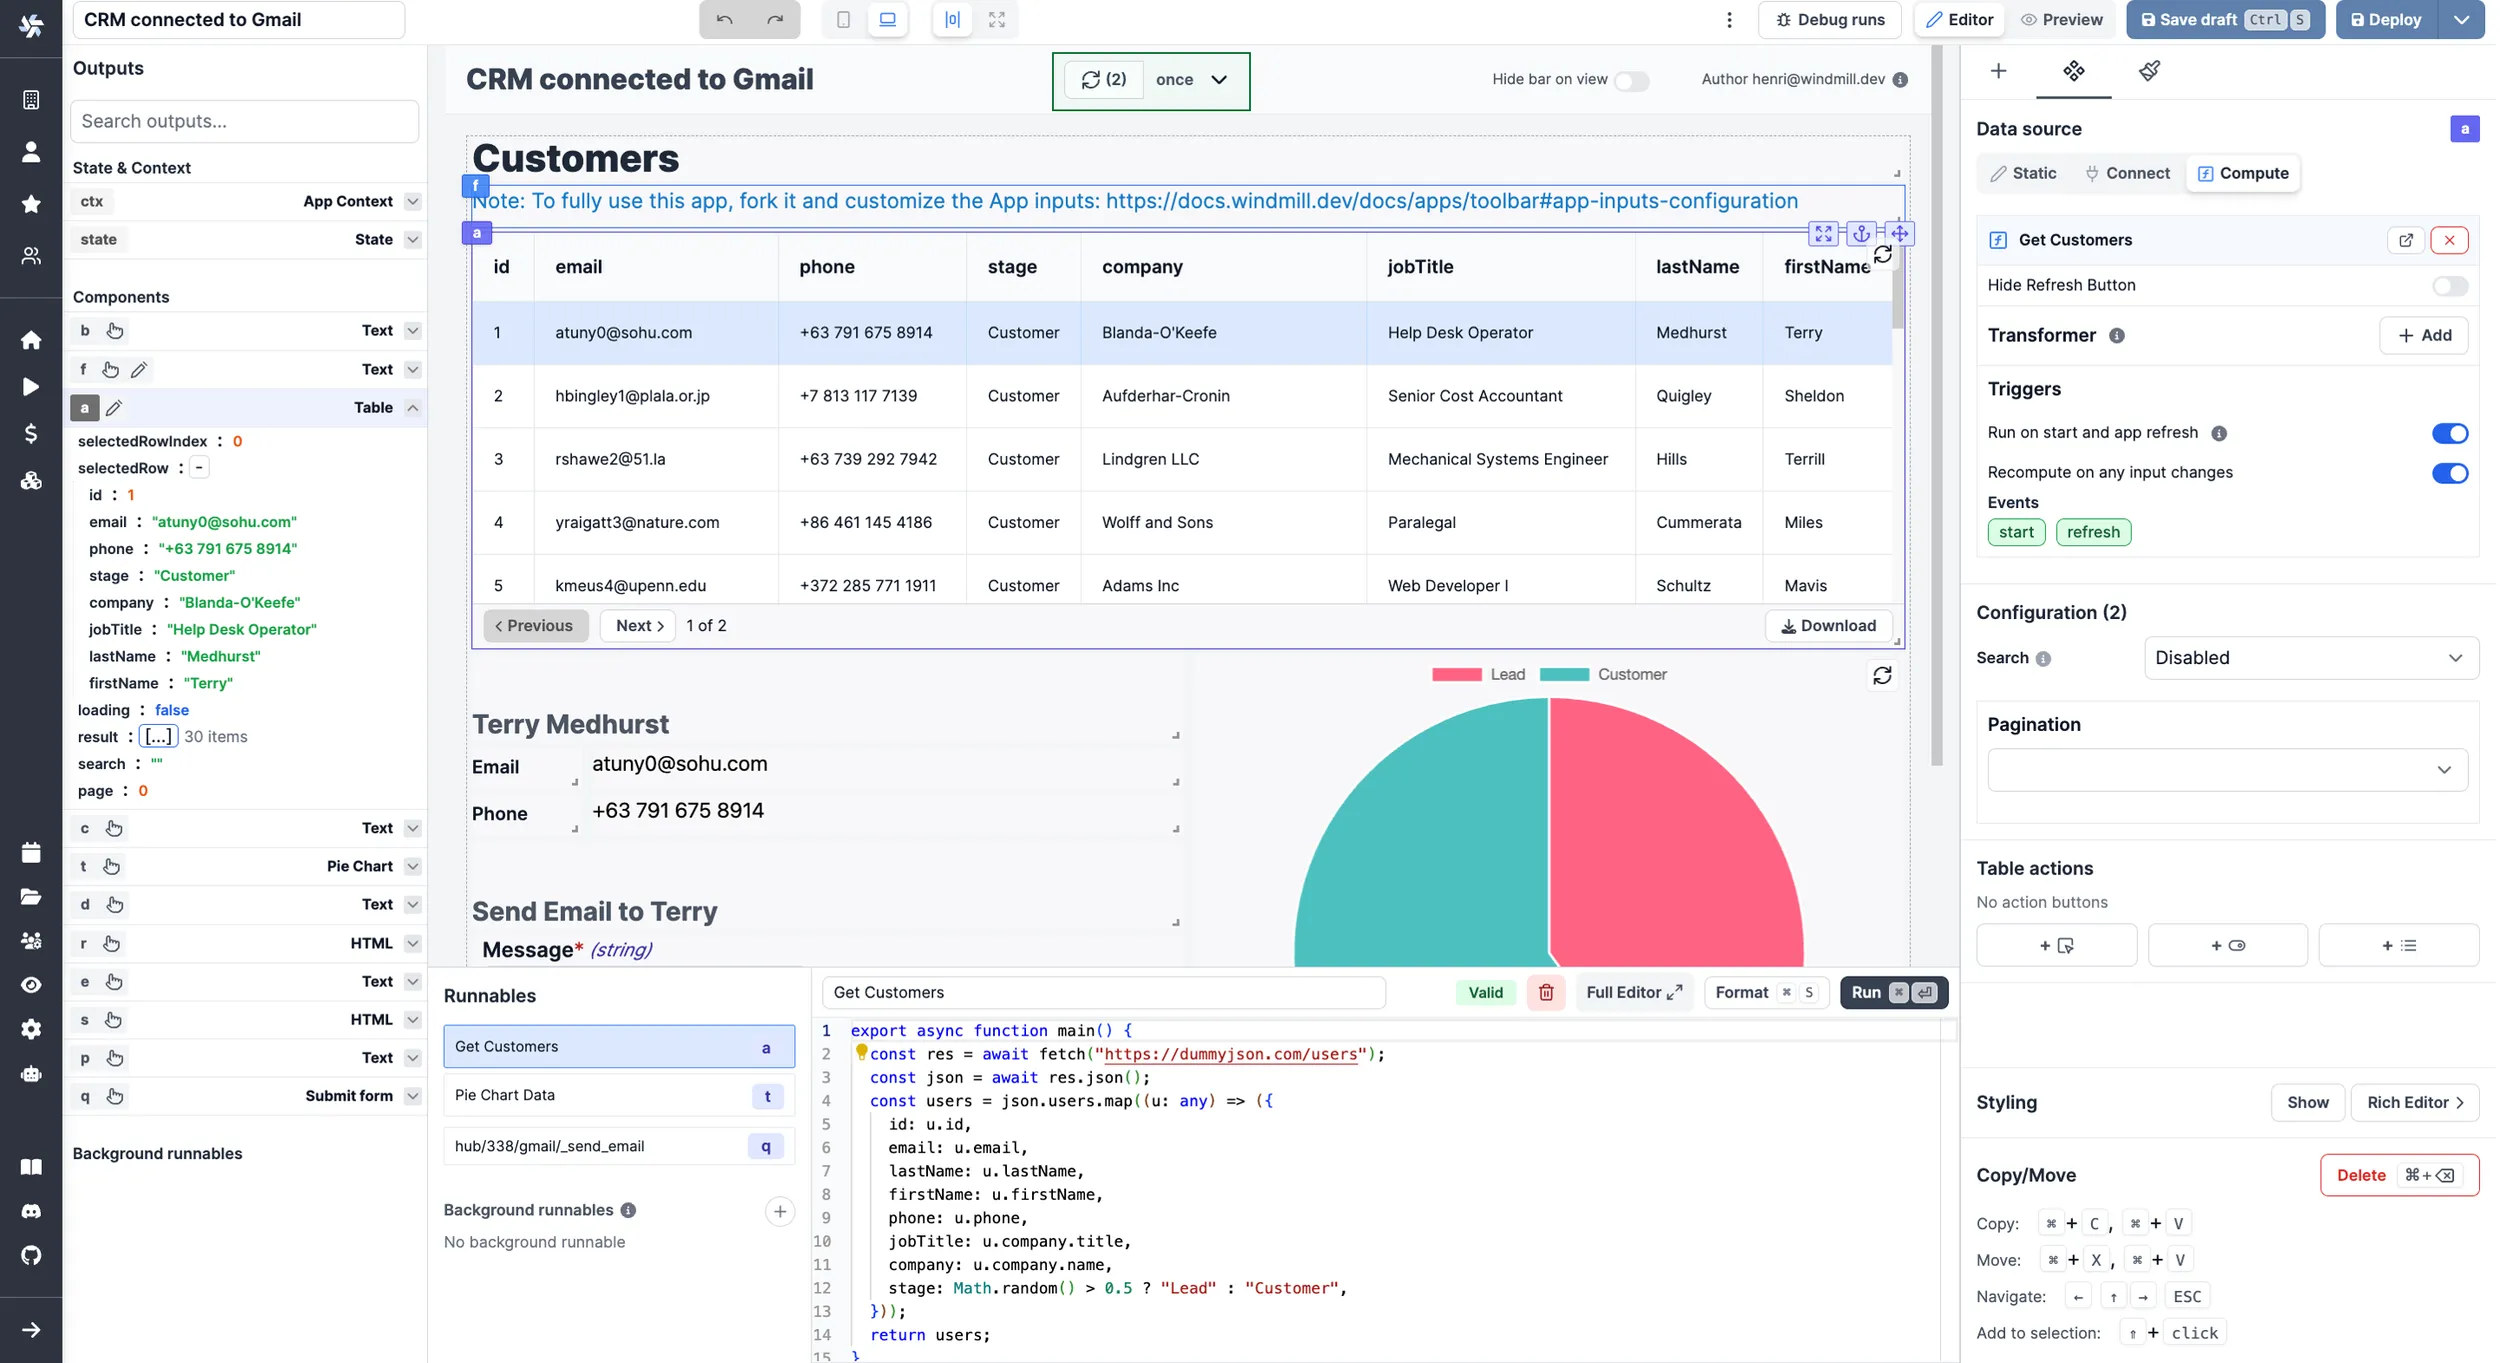
Example of an app built with Windmill App Editor.
Although Windmill provides auto-generated UIs to scripts and flows, you can build your own internal applications designed to your needs. Either with our integrated app editor, or by importing your own React/Vue/Svelte apps.
Windmill applications are customized UIs to interact with datasources (web, internal, data providers, etc). They are a great way to have non-technical users interact with custom-made workflows.
In short, what you need to remember about apps:
- They work on a what-you-see-is-what-you-get basis.
- You can connect apps and components to datasources.
- Components can be empowered by Windmill scripts and flows.
Follow our detailed section on the App Editor for more information.
To create your first app, you could pick one from our Hub and fork it. Here, we're going to build our own app from scratch, step by step.
From Windmill, click on + App, and let's get started!
Toolbar
Before jumping in, you should decide if you want to build a Desktop or a Mobile app. Just click on the appropriated icon on top.
Switch from Editor to Preview mode to take a step back on what you're building.
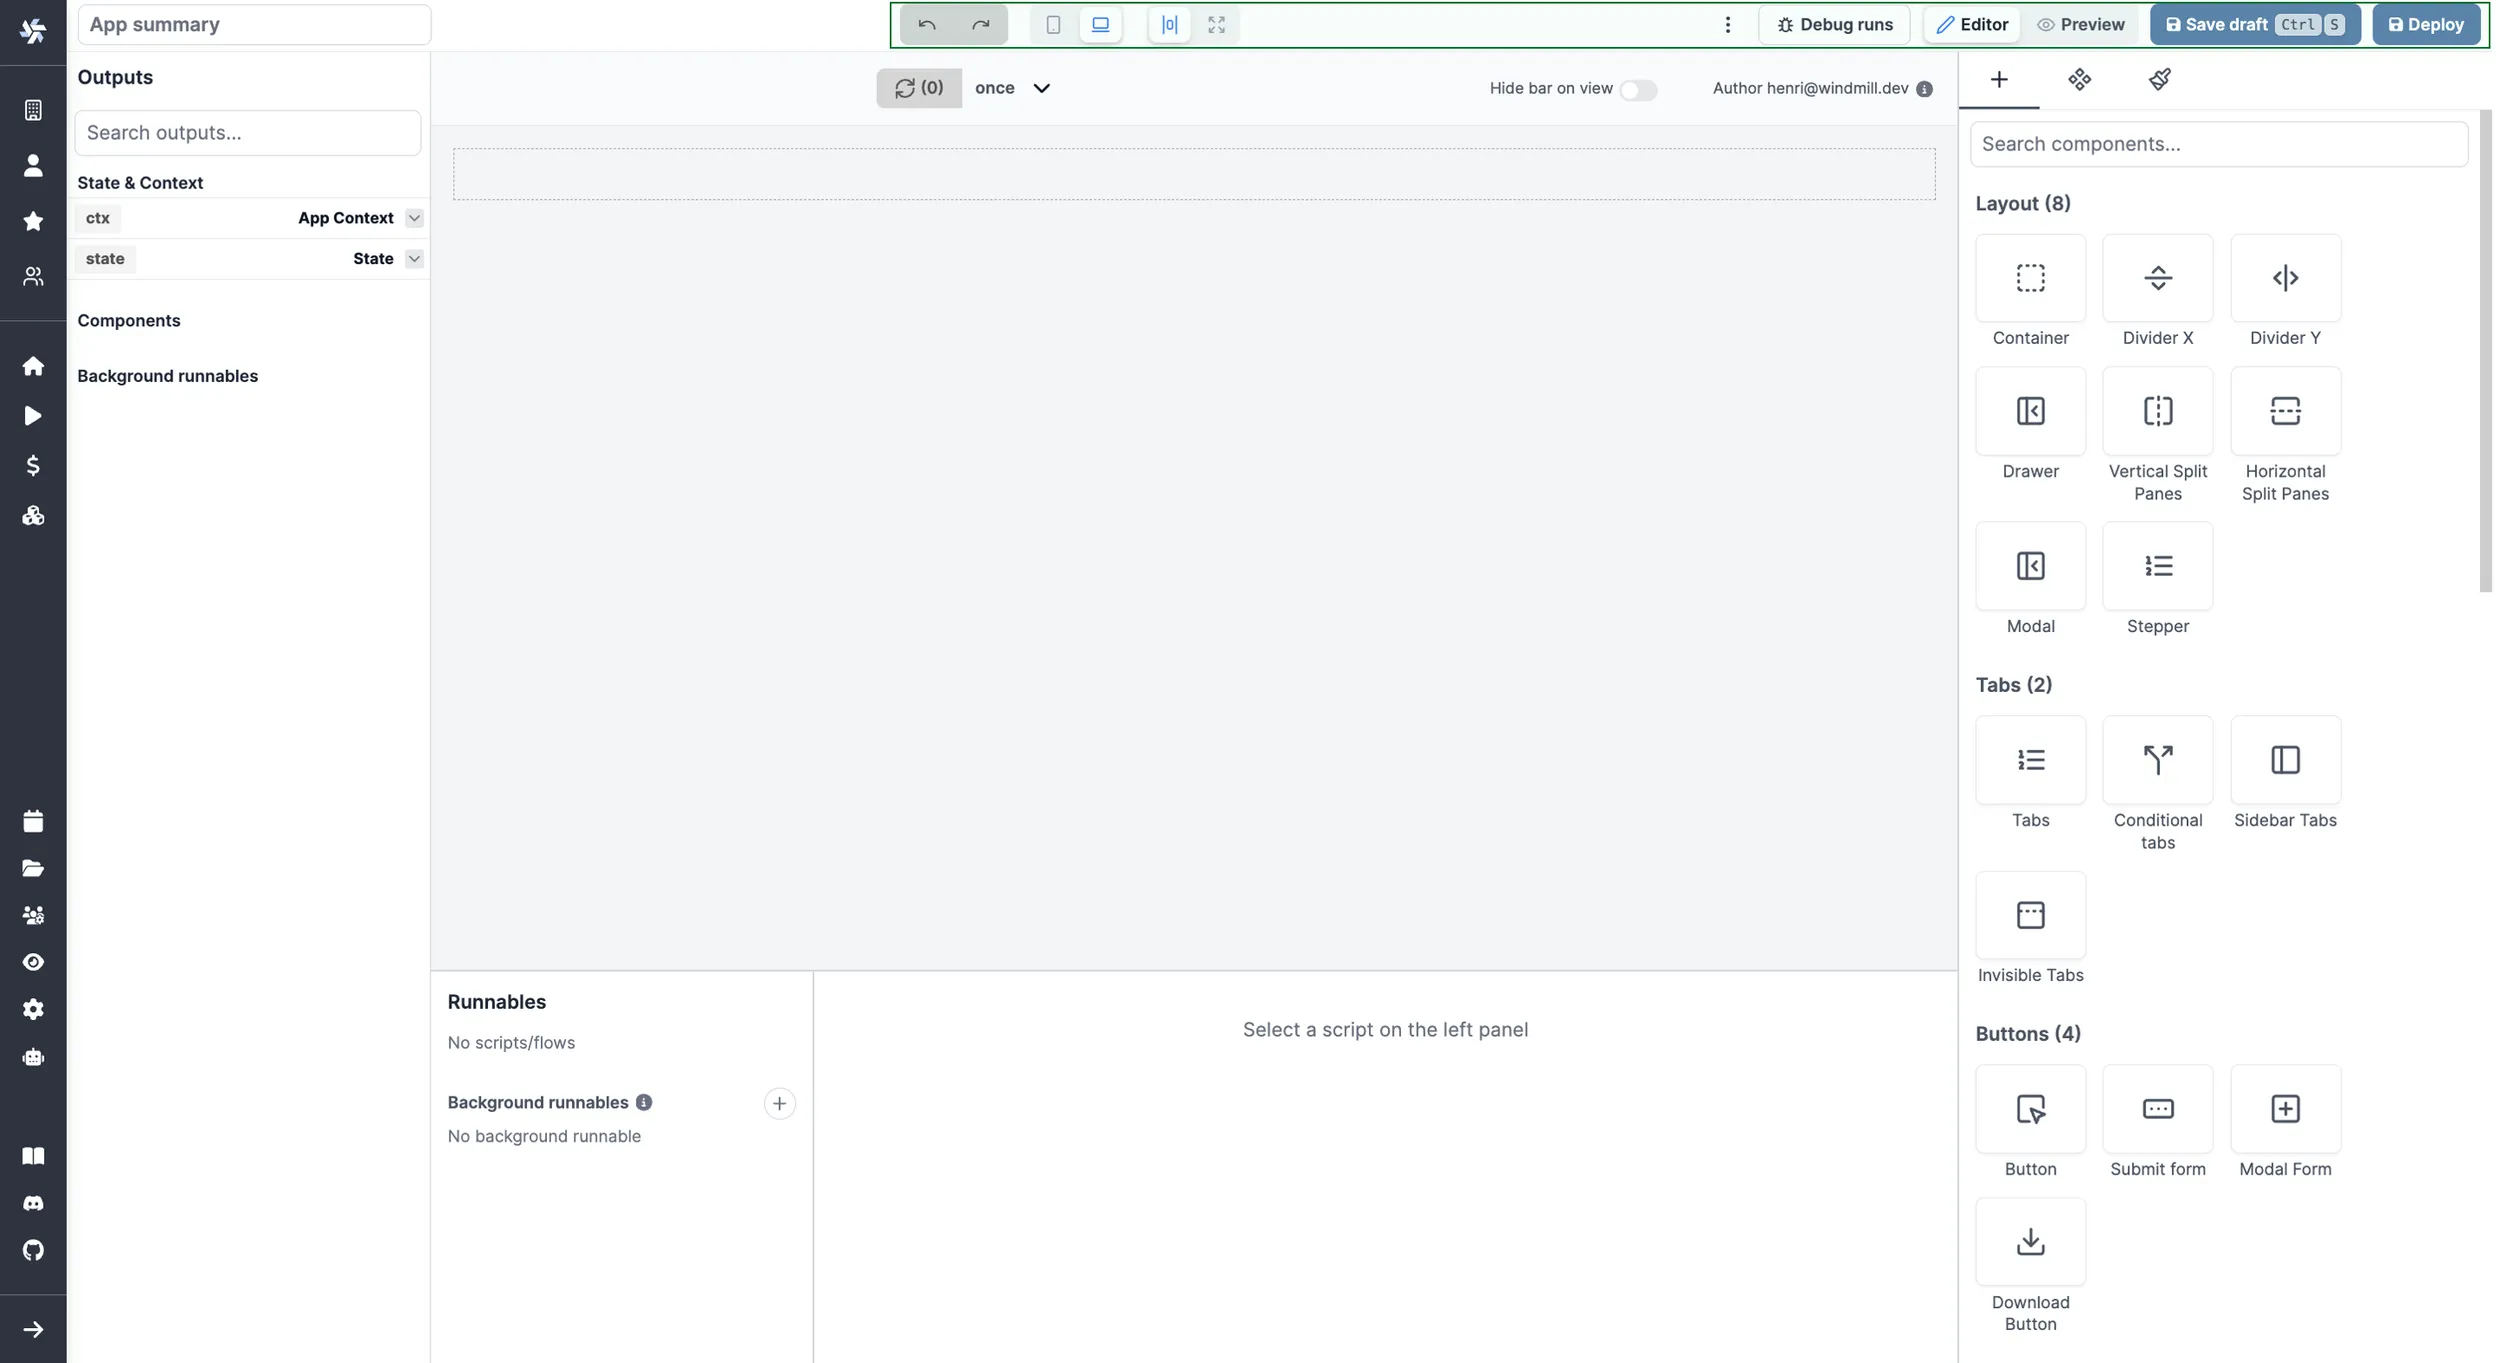
Components
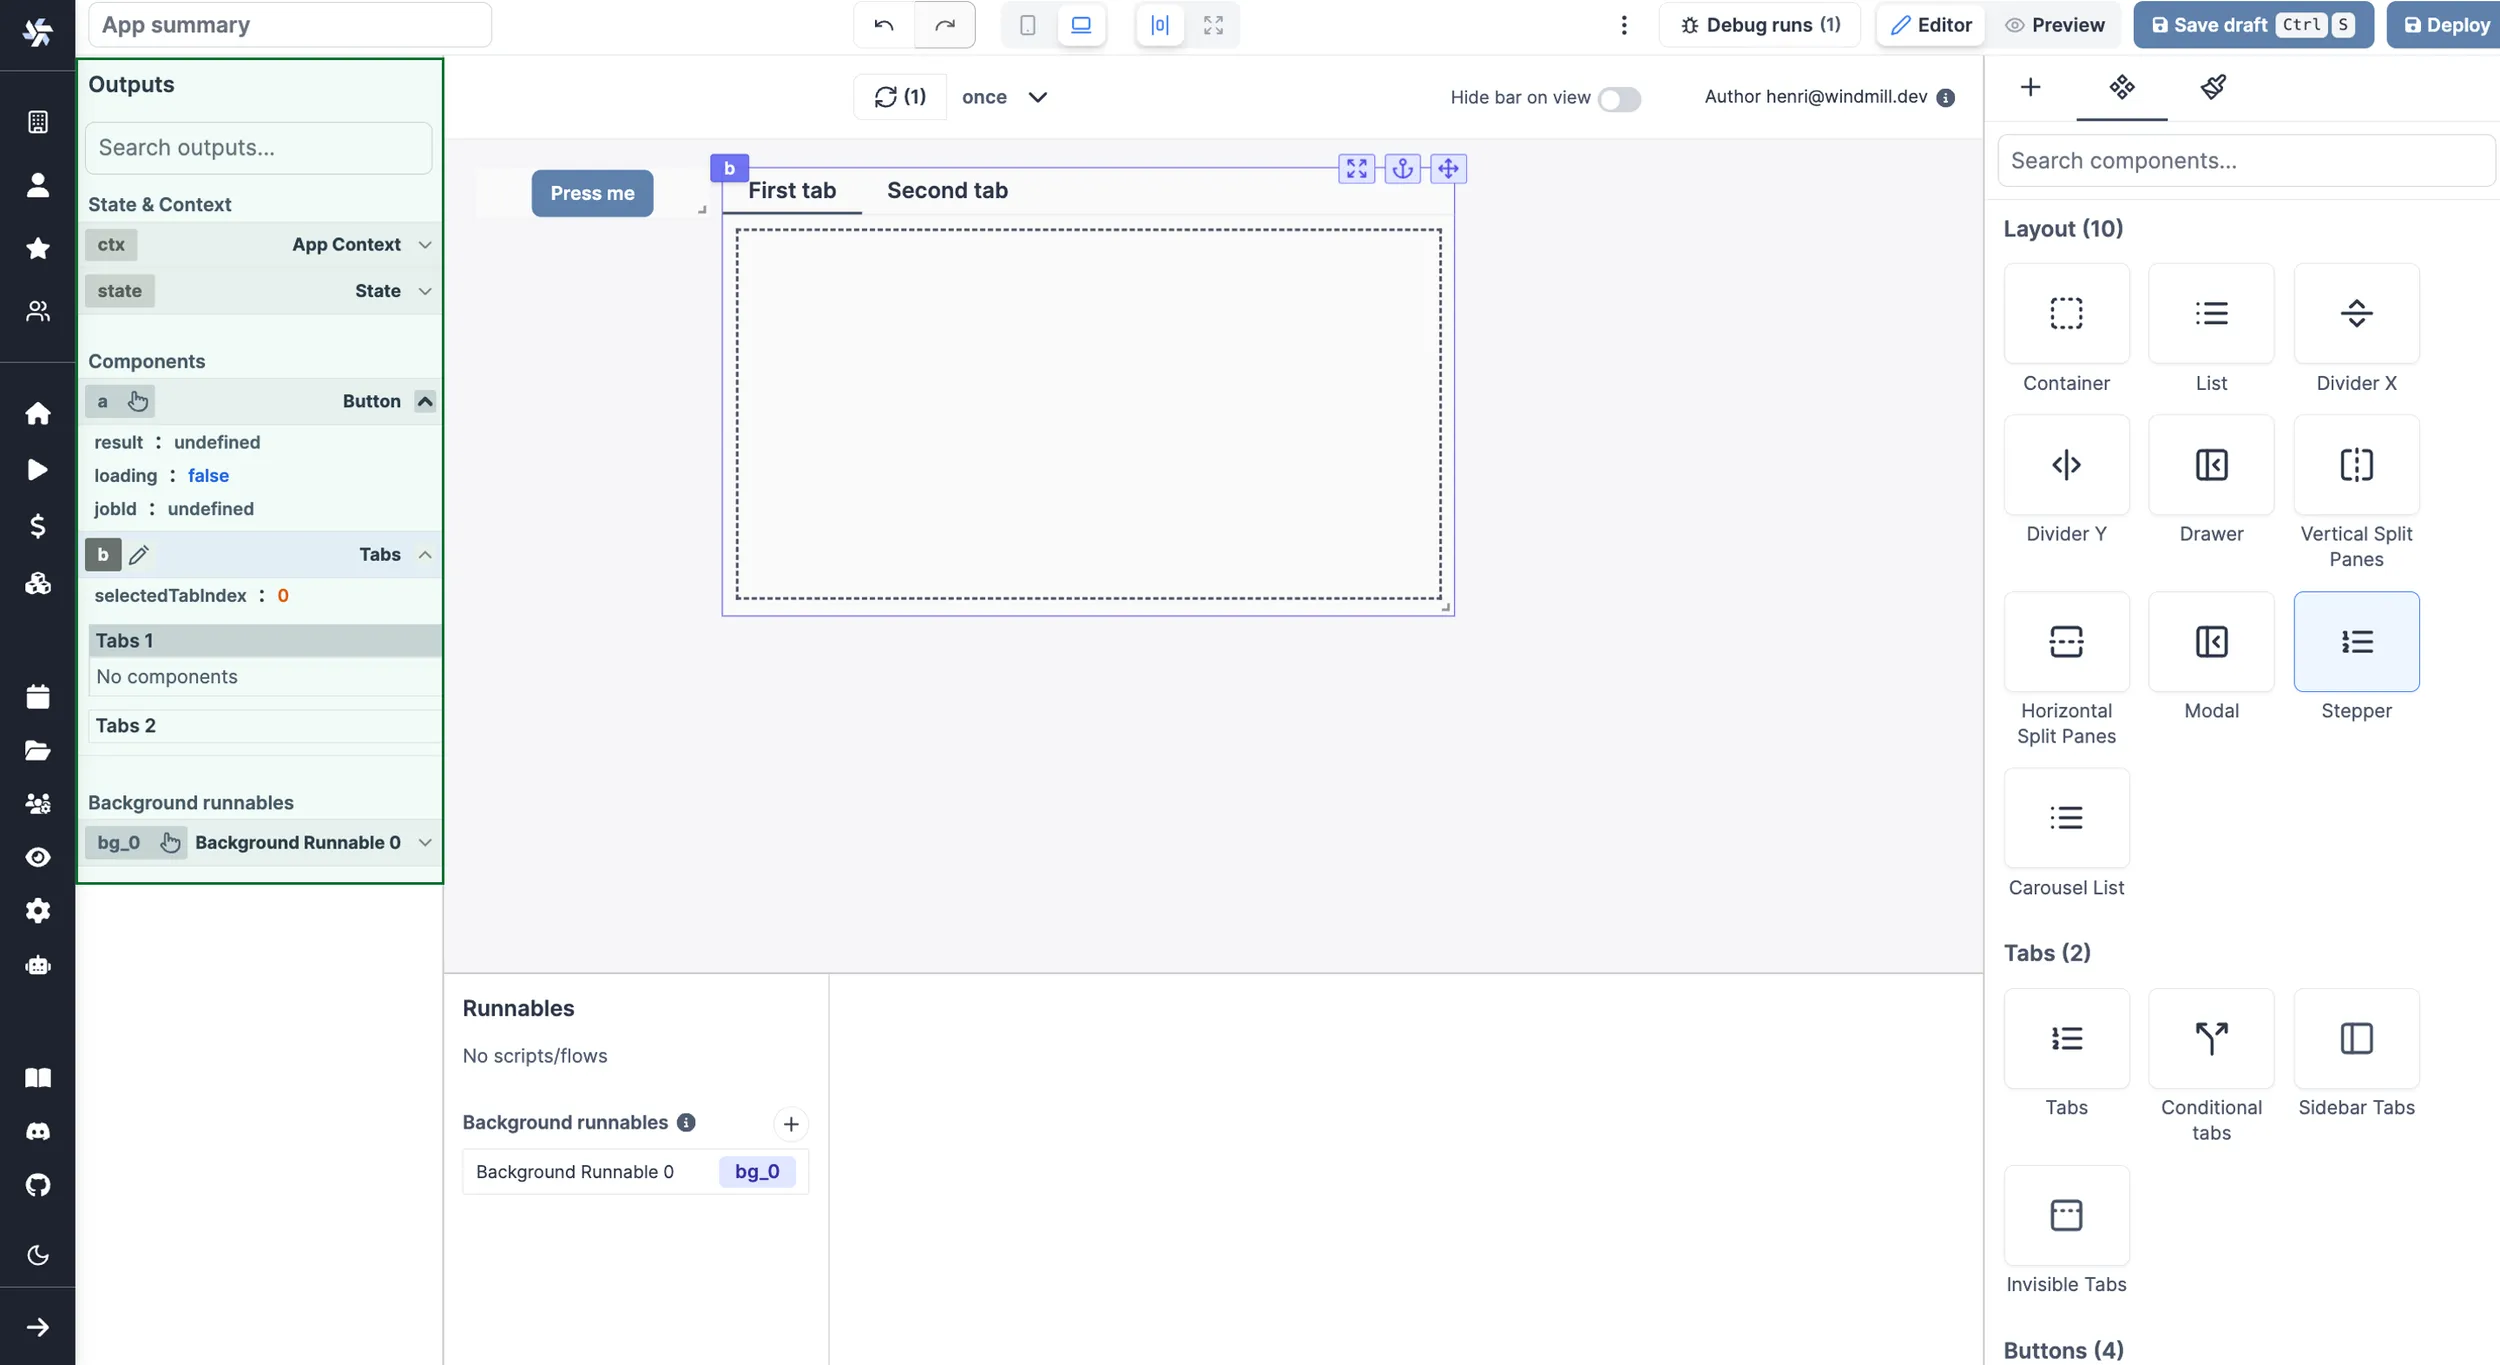
The App editor works on a drag-and-drop basis. From the right-side menu, click on a component to create it on the canvas, move it maintaining a click on it and delete it clicking on Delete component at the bottom of the Settings tab. You can resize your components by dragging the resize handler on the bottom-right corner.
If you have numerous components you might need to Anchor some of them to have them unmovable by other components.
Check out all of our components at this page or (better) directly from the app editor. Know that we can quickly add components to the library, just reach out to us.
Empower components with scripts
The beauty of Windmill App editor is the integrations of scripts & workflows to components.
On the bottom of the app editor, you can find the Runnable editor. It allows you to create, edit or manage the scripts or flows linked to components (Runnables), and background runnables.
From a component, click on Create an inline script or Select a script or flow (from workspace or hub) and you're good!
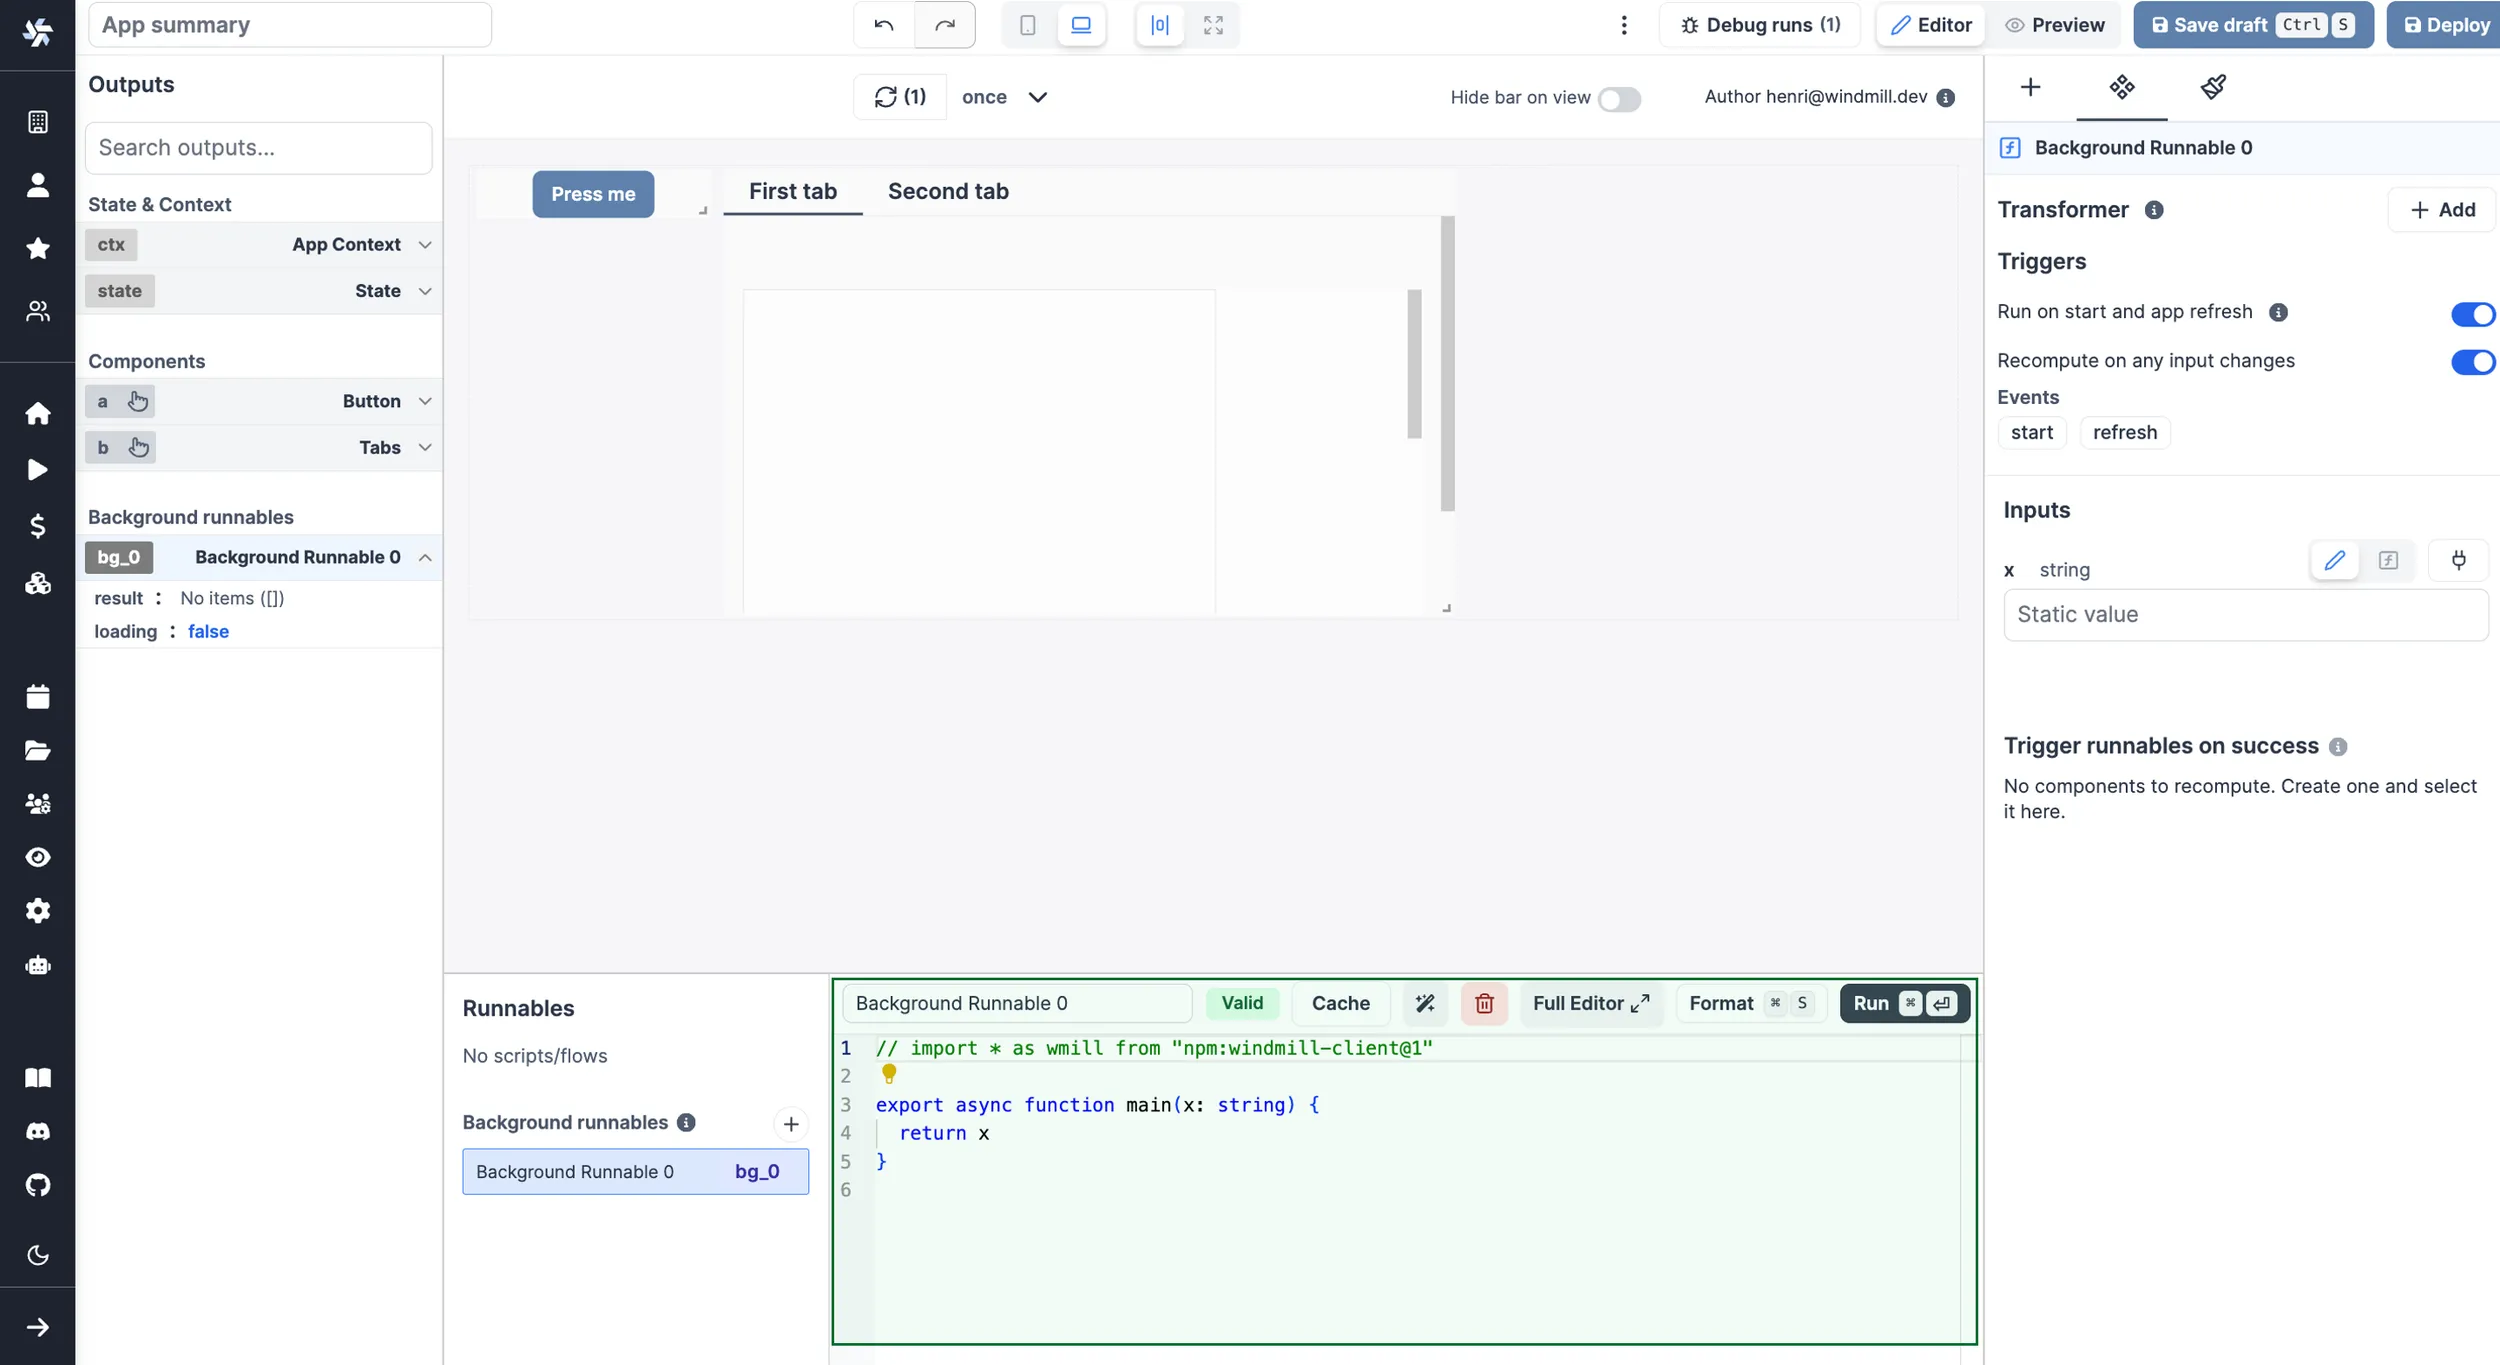
The Outputs of each component can be found on the left side menu. Each of them is associated with a component (see the component id).
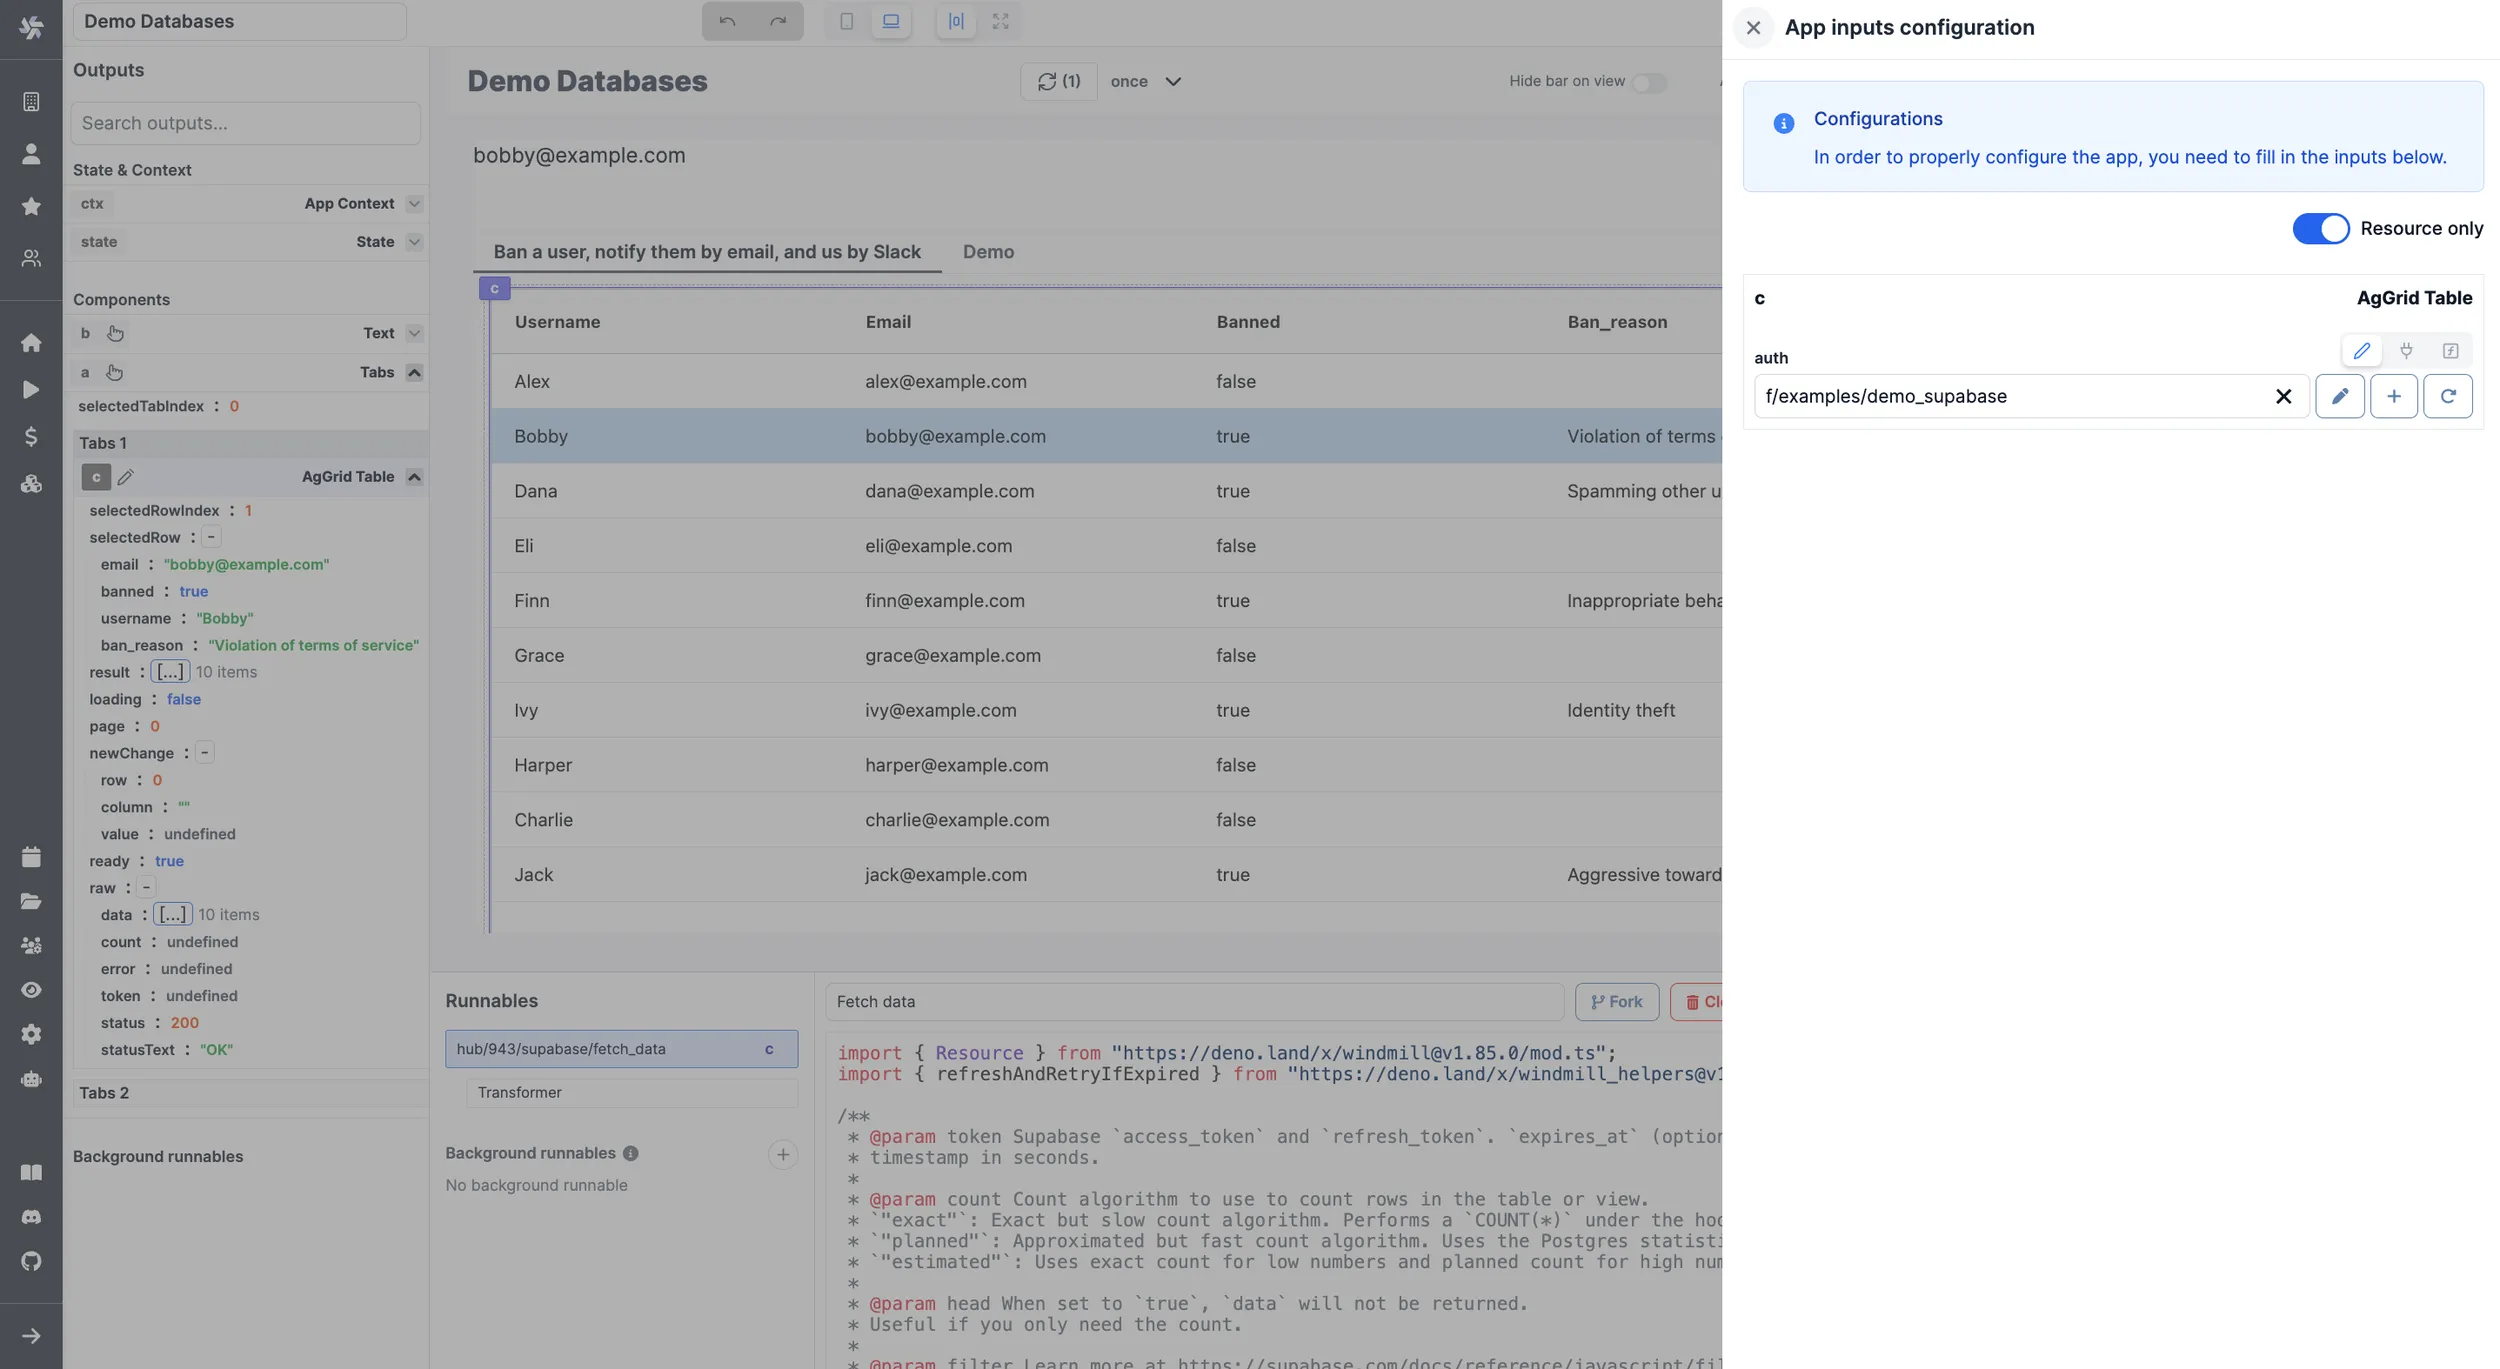
Inputs can be connected to any output: on a component click on Connect and associate inputs to outputs.
At any time, have a look at your app's Inputs associated with each component on the dedicated App inputs tab found in the ⋮ menu of the toolbar.
Tailor the look of your app
At the component level, on the Settings tab, configure the style of each component (color, size, label, etc.) either directly in the boxes or using Custom CSS (on the Component Settings - Styling tab).

At the app level, you can give a harmonized style to your app with CSS. On the Global Styling tab, give details in boxes or in JSON, for the whole app and per class of component.

Time to test
While building your app, you can try each component clicking on refresh button.
You can do a refresh all for the whole app with the refresh button on top of the canvas, or schedule automatic refresh.
Most convenient solution to test your app might just be to preview it:

For possible bugs, there is a Debug Runs tab to review past runs with details for each component.

Then what?
When you're done with the editing of your app, Save Draft or Deploy the current version to the relevant users/folders with a proper and explicit name. All additional changes can be seen and reversed in the Diff Viewer.
Once it's saved, it's ready to use! You can also Publish it, or even Publish to Hub and export it in JSON or Hub compatible JSON from the ⋮ tab.
Follow our detailed section on the App Editor for more information.